Why Building an Outdoor Deck Is Easier Than You Think
Build outdoor deck projects have become one of the most popular and affordable ways to expand your living space and increase your home’s value. Whether you’re dreaming of a space for morning coffee or weekend barbecues, constructing your own deck is more achievable than most homeowners realize.
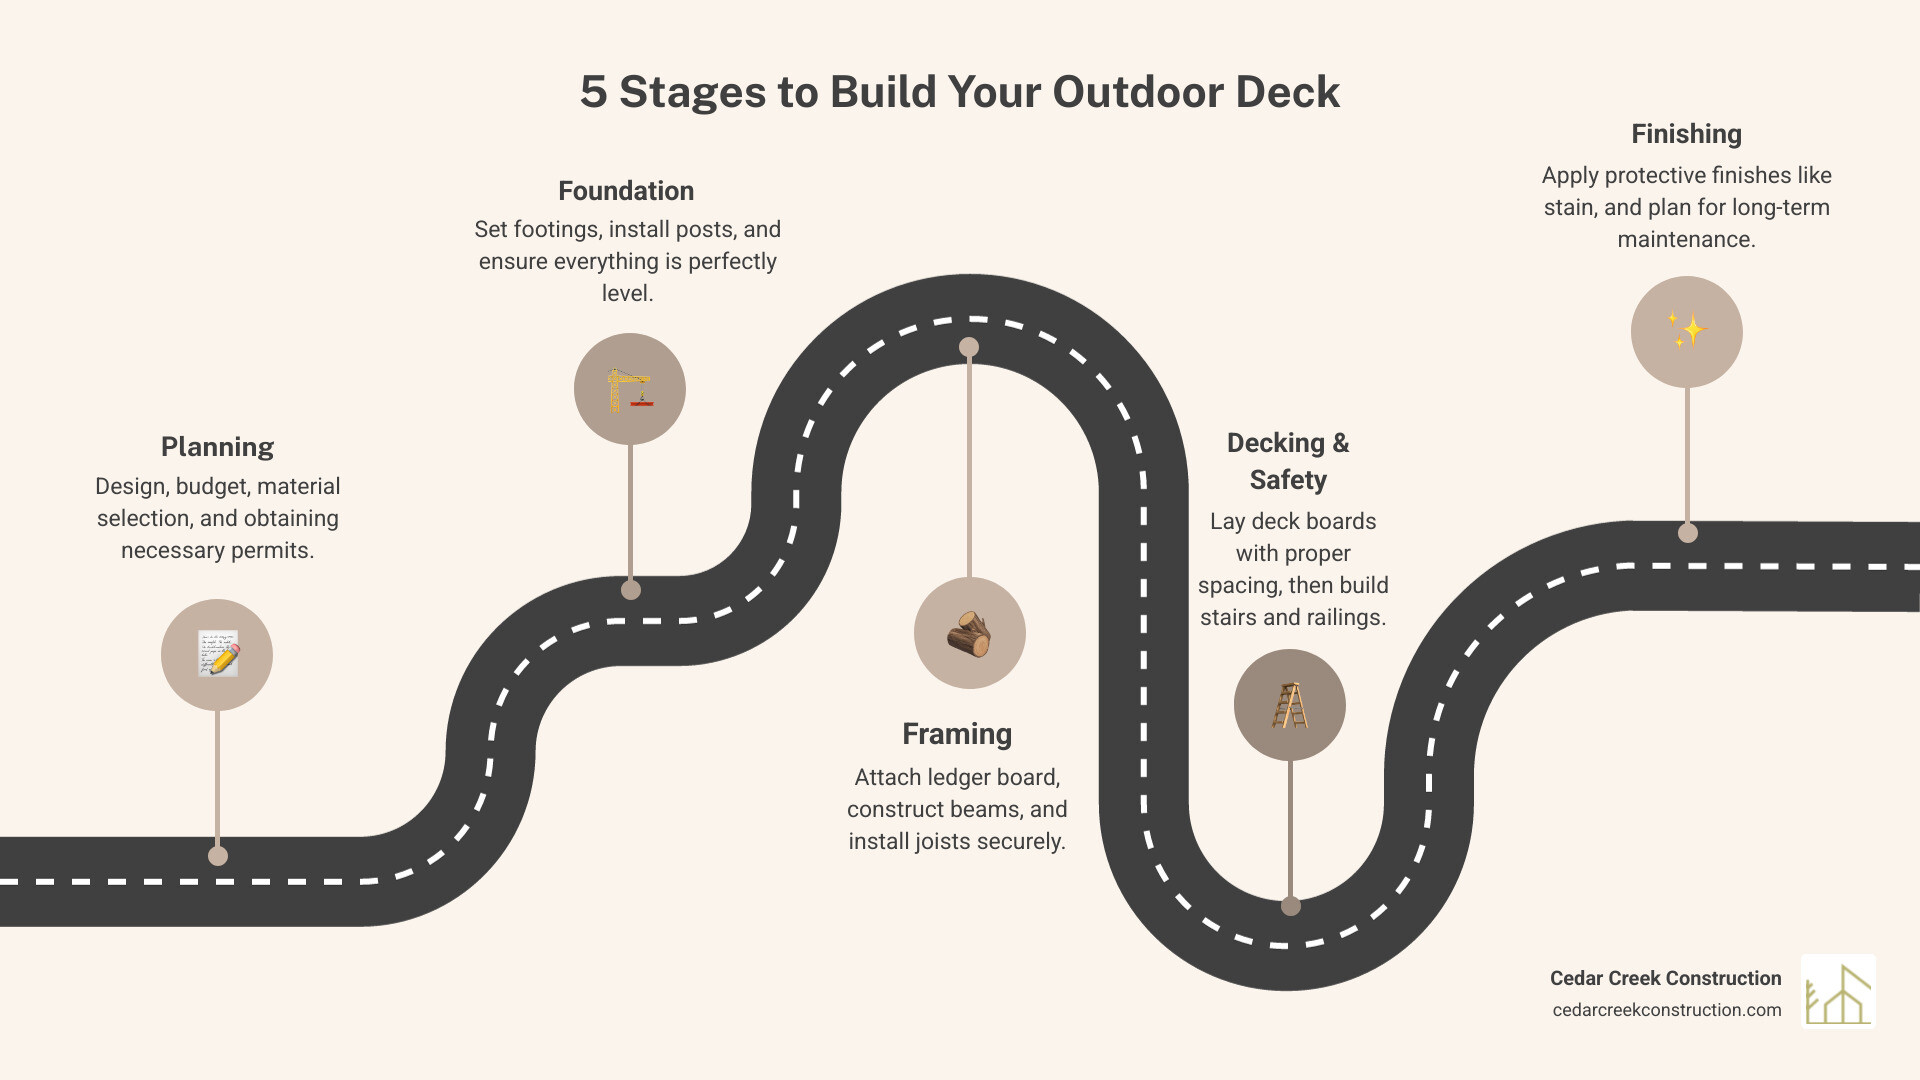
Here’s what you need to know to build an outdoor deck:
- Plan Your Design – Determine size, shape, materials, and obtain necessary permits
- Prepare the Foundation – Set footings, install posts, and ensure everything is level
- Build the Frame – Attach ledger board, install beams and joists
- Install Decking – Lay boards with proper spacing and fasteners
- Add Safety Features – Build stairs and railings that meet code requirements
- Finish and Maintain – Apply protective finishes and establish a maintenance routine
The average DIY deck project for a 10’x10′ space costs around $350 to $750 in materials, compared to $10,000 to $20,000 for professional installation. With basic carpentry skills and a free weekend or two, you can transform your backyard into an outdoor living space that serves you for decades.
The key to success? Proper planning and understanding the fundamentals. From choosing the right materials for Pennsylvania weather to meeting local building codes, this guide walks you through every step of the process. You’ll learn how to ensure your foundation is square and level, how to space your joists correctly (typically 16 inches on center), and why details like deck joist tape matter for long-term durability.
I’m Matt Strunk, and as a co-founder of a local construction company, I’ve helped countless Lehigh Valley homeowners plan and build outdoor deck projects that improve their properties. This guide combines real-world construction experience with practical DIY advice to help you confidently tackle your deck project.
Step 1: Planning Your Perfect Deck
Before you pick up a hammer, thorough planning is the most crucial step to build outdoor deck success. This phase saves time, money, and future headaches. We’ll cover everything from your deck’s purpose to local Lehigh Valley regulations.
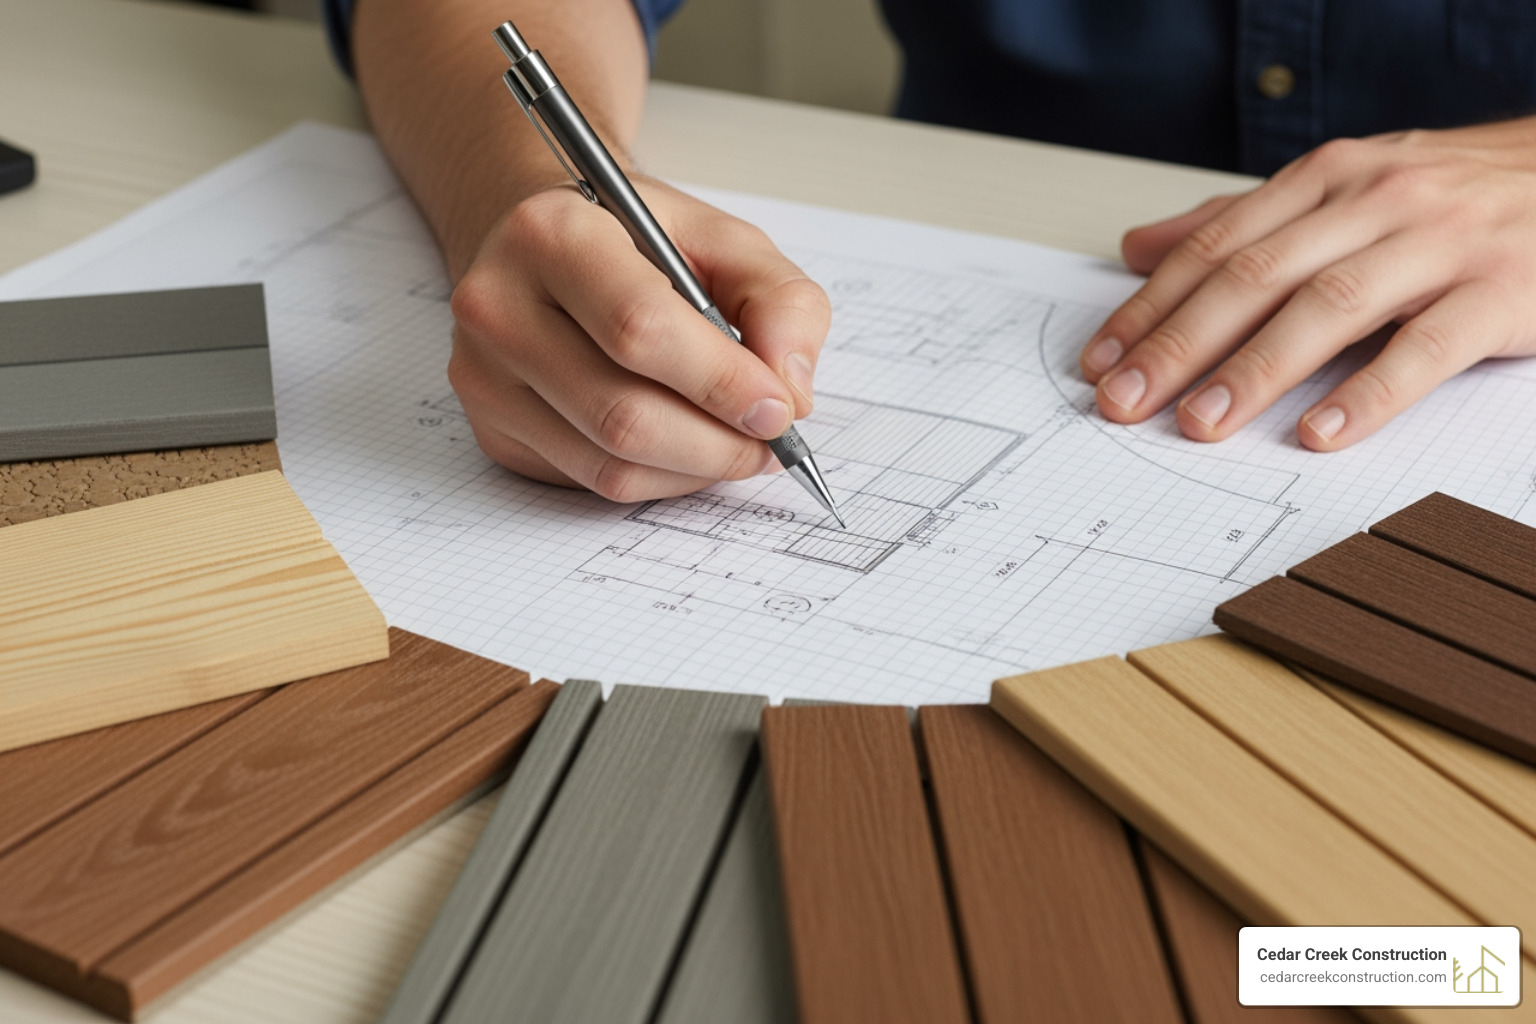
First, what is the primary purpose of your new deck? A cozy retreat, an entertainment hub, or a functional extension of your home? Your answer informs the ideal size, shape, and features like built-in seating or a fire pit. Consider your home’s architecture and your yard’s layout to ensure the deck complements your property.
Budgeting is also critical. A professionally built deck in our area can cost $10,000 to $20,000, but a simple 10’x10′ DIY project might only be $350-$750 in materials. If you need a financial boost, personal loans can offer fixed rates and quick funds. For a detailed cost breakdown, see our guide on How Much Does a New Deck Cost in the Lehigh Valley?.
Choosing Your Deck Material
Your material choice dictates your deck’s look and long-term maintenance. Here’s a comparison of common options for your Lehigh Valley home:
| Material | Cost (Initial) | Maintenance | Lifespan | Appearance |
|---|---|---|---|---|
| Pressure-Treated Wood | Low | High (staining, sealing) | 15-20 years | Natural wood grain, can be stained any color |
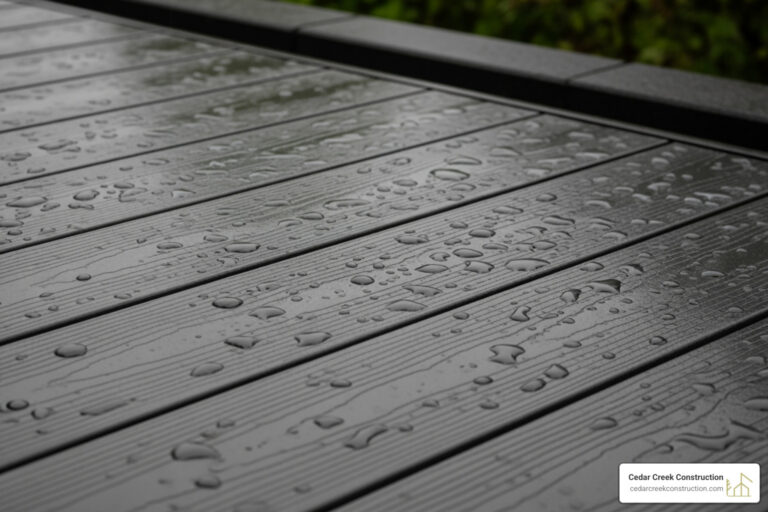
| Composite | Medium-High | Low (occasional cleaning) | 25-30+ years | Mimics wood, wide range of colors/textures |
| PVC | High | Very Low (occasional cleaning) | 30+ years | Mimics wood, often solid colors, highly durable |
| Cedar/Redwood | Medium | Medium (sealing, natural aging) | 20-25 years | Natural, aromatic, weathers to gray if unstained |
| Tropical Hardwood | Very High | Medium (oiling, natural aging) | 25-50+ years | Dense, exotic grains, very durable, rich colors |
For homeowners in Center Valley, Coopersburg, Allentown, and Easton, understanding these materials is key. For instance, many ask about Trex vs. Wood Decking: What’s the Best Choice for Pennsylvania Weather?.
- Pressure-Treated Wood: The most budget-friendly option, great for framing. It resists rot but requires regular staining and sealing to prevent warping.
- Composite Decking: A popular low-maintenance option made from recycled wood and plastic. It resists fading and splintering, offering a wood-like look with minimal upkeep. Learn More about composite decking.
- PVC Decking: Made entirely from polymers, PVC is waterproof and highly resistant to mold. It’s a high-cost, very low-maintenance choice.
- Cedar and Redwood: Valued for their natural beauty and rot resistance. They require sealing to maintain their color.
- Tropical Hardwood (e.g., Ipe): Extremely dense and durable with a rich, exotic look. This is a premium, high-cost material requiring specialized tools.
Safety, Permits, and Building Codes
Safety and legal compliance are non-negotiable. Ignoring codes can lead to fines and structural failure. Pennsylvania’s codes are based on the 2021 International Residential Code (IRC), but local rules in the Lehigh Valley can vary.
- Permits: A permit is almost always required for decks over 30 inches high, attached to the house, or over 200 square feet. Permit costs average around $500. Always confirm with your local building codes department. For more details, see our guide on Deck Permits & Codes Upper Saucon & Coopersburg.
- Call 811: Before digging, Call 811 a few days in advance. This free service marks underground utility lines to prevent dangerous and costly accidents.
- Key Code Requirements:
- Railings: Required for decks over 30 inches above ground. Minimum height is 36 inches.
- Baluster Spacing: The gap between balusters must be less than 4 inches.
- Stairs: Treads must be at least 9¼ inches deep, and risers no more than 8 inches high. A handrail is required for stairs with four or more risers.
- Joist Spacing: Joists are typically spaced 12 to 16 inches on center to ensure proper support.
Step 2: Gathering Your Tools and Materials
With your plan and permits ready, it’s time to gather your tools and materials. Having everything on hand ensures your project runs smoothly. A simple 10’x10′ DIY deck costs around $350-$750 for materials, making it a cost-effective project. Basic carpentry skills are helpful, and you can easily find tutorials for tasks like learning to use and read a tape measure.
List of Essential Tools
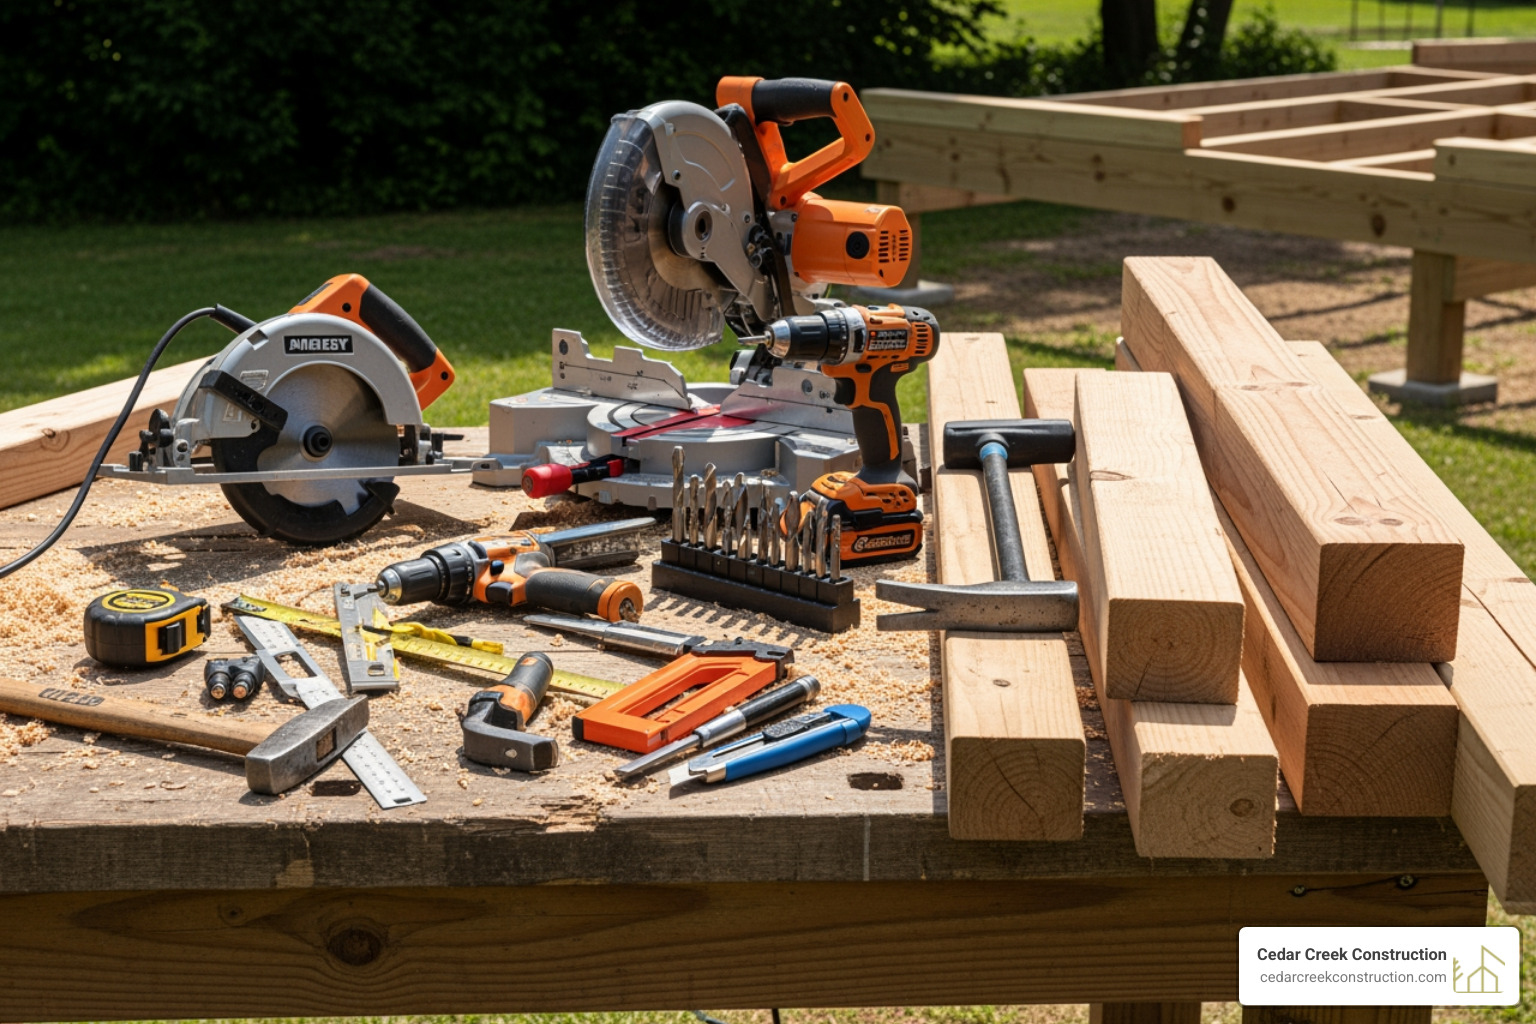
Having the right tools for the job is paramount. Here’s a list of what you’ll likely need:
- Circular Saw: For cutting lumber and decking boards to length.
- Miter Saw: Excellent for precise crosscuts and angle cuts, especially for joists and stair stringers.
- Drill (Cordless recommended): For drilling pilot holes and driving screws. Make sure to have extra batteries!
- Hammer: For driving nails, especially hanger nails for joist hangers.
- Level (4-foot minimum): Crucial for ensuring your foundation, frame, and decking are perfectly level and plumb.
- Clamps: Incredibly helpful for holding boards in place while you fasten them, or for straightening bowed lumber.
- Shovel and Post-Hole Digger/Auger: For digging foundation holes.
- Chalk Line: For snapping straight lines across long boards or for laying out your deck footprint.
- Tape Measure: Essential for all measurements.
- Safety Gear: Eye protection, hearing protection, work gloves, and a dust mask (especially when cutting pressure-treated wood).
List of Common Materials for a 10’x10′ Wood Deck
This list is based on a ground-level, pressure-treated wood deck, providing a good starting point for your material needs:
- Pressure-Treated Lumber:
- 2×6 or 2×8 for joists and beams (ground contact rated for any parts touching the ground).
- 5/4 in. x 6 in. x 10 ft. Pressure-Treated Pine Deck Boards for the decking surface.
- Concrete Deck Blocks: These are pre-cast concrete piers that sit on the ground, ideal for low-level decks where concrete footings below the frost line aren’t strictly required or desired. (For a 10’x10′ deck, you might need 9-12 blocks depending on your beam/joist layout).
- Joist Hangers: Metal connectors used to attach joists to beams or ledger boards, ensuring a strong connection.
- Angle Braces: If using deck blocks, these can help stabilize the frame.
- Deck Screws: Lots of them! Use exterior-grade deck screws (e.g., 2 ½ inch or 3 inch) that are corrosion-resistant.
- Hanger Nails: Short, stout nails specifically designed for joist hangers.
- Deck Joist Tape: This is extremely important! This waterproof tape protects the tops of your joists and beams from moisture, preventing rot and extending the life of your deck. Applying this where wood meets wood or metal is a best practice often overlooked.
- Leveling Sand: For precisely leveling your deck blocks.
- Weed Mat (Geotextile fabric): To prevent weed growth under your deck.
- Gravel (or crushed stone): For creating a stable base under your deck blocks or for drainage.
- Shed Anchors: Can provide additional stability for ground-level decks not using traditional concrete footings.
Step 3: How to Build an Outdoor Deck Substructure
The substructure is the backbone of your deck, providing the strength and stability for your build outdoor deck project. Getting this part right is absolutely critical.
Essential Ground Prep to Build an Outdoor Deck
Proper ground preparation prevents future problems like shifting, weed growth, and poor drainage.
- Layout with Stakes and String: Mark the exact footprint of your deck to visualize its size and shape in your yard.
- 3-4-5 Rule for Squareness: To ensure square corners, use the 3-4-5 rule. A 3-foot measurement on one side and a 4-foot measurement on the adjacent side should result in a 5-foot diagonal between those two points. Adjust your layout until it’s perfectly square.
- Removing Sod and Leveling: Clear all grass, weeds, and debris from the deck’s footprint, leveling the ground as much as possible.
- Laying Geotextile Fabric: Roll out a heavy-duty weed mat over the entire prepared area to prevent weeds from growing through your decking.
- Adding Gravel: Spread a 2-4 inch layer of gravel or crushed stone over the weed mat. This creates a stable, well-draining base for your foundation.
Setting the Foundation
The foundation supports the entire weight of your deck. In the Lehigh Valley, we must account for the frost line to prevent “frost heave,” which can push your deck up.
- Deck Blocks vs. Concrete Footings:
- Deck Blocks: A simpler option for low-level, unattached decks. They sit on your gravel base but don’t extend below the frost line, so they are best for decks very close to the ground.
- Concrete Footings: The standard for attached or liftd decks. This involves digging holes below the frost line (typically 30-42 inches in the Lehigh Valley) and pouring concrete. For a comparison, see our article on Helical Piers vs. Concrete Footings – Lehigh Valley.
- Digging and Pouring: Use a post-hole digger to create holes (typically 12-inch diameter) to the required depth. Place a cardboard form tube in each hole, pour concrete, and insert metal post anchors into the wet concrete, ensuring they are level and aligned.
Installing the Frame
With a solid foundation, you can assemble the framework that supports the decking.
- Attaching the Ledger Board: For an attached deck, the ledger board (typically 2×8 pressure-treated lumber) is the most critical piece. It must be securely fastened to the house’s band joist with lag screws or through-bolts and protected with proper flashing to prevent water intrusion. Improper attachment is a common point of failure.
- Installing Posts: Secure vertical support posts into the post anchors or deck blocks, ensuring they are perfectly plumb (vertically straight) with a level.
- Building Beams: Beams are horizontal supports for the joists, typically made by fastening two or three 2x lumber pieces together. They rest on top of your posts.
- Installing Joists:
- Rim Joists: These form the outer perimeter of the deck frame.
- Intermediate Joists: These run parallel to each other, providing the surface for your decking. Install them with joist hangers, spaced consistently at 16 inches on center (O.C.). Understanding what on center means is fundamental to proper construction.
- Deck Joist Tape: As you install your joists and beams, apply deck joist tape to the top of each one. This small step significantly increases your deck’s lifespan by protecting the wood from moisture.
Step 4: Installing Decking, Stairs, and Railings
With the substructure complete, it’s time for the visible elements that make your deck functional and beautiful. This is where your build outdoor deck project truly comes to life.
Installing Decking Boards to Complete Your Outdoor Deck
Proper installation of the decking surface is key for aesthetics, durability, and safety.
- Board Orientation: Lay decking boards perpendicular to the joists. For wood, face the side with the tightest grain up.
- Spacing Between Boards: Spacing is crucial for drainage and wood movement. For wet pressure-treated wood, lay boards tightly as they will shrink. For kiln-dried or composite wood, use a 1/8-inch or 1/4-inch spacer. Always follow the manufacturer’s specific recommendations for composite/PVC decking.
- Hidden Fasteners vs. Deck Screws:
- Deck Screws: The most direct method is driving exterior-grade screws through the face of the boards. Pre-drilling pilot holes near board ends prevents splitting.
- Hidden Fasteners: These systems use clips for a clean, screw-free surface, and are often preferred for composite and PVC decking.
- Working with Bowed Boards: You can straighten warped boards using clamps or a pry bar to hold the board in place while you fasten it. Family Handyman has some great tips for this.
- Trimming Edges: Once all boards are laid, snap a chalk line along the edges and trim the overhang with a circular saw for a clean finish.
Building and Attaching Stairs
Deck stairs must be built to code for safety.
- Calculate Rise and Run: This is the most complex part. Measure the total vertical height from the deck surface to the ground (total rise). Divide this by 7.75 inches to estimate the number of steps, then adjust to get an equal riser height (not exceeding 8 inches in PA). Your tread depth must be at least 9¼ inches.
- Cutting Stringers: Use a framing square to lay out your rise and run on 2×12 lumber and cut the stair stringers. You’ll need one stringer for every 16-24 inches of stair width.
- Assembling and Attaching: Fasten the riser boards and then the tread boards to the stringers. Securely attach the top of the stringers to the deck frame with metal connectors. The bottom of the stringers should rest on a solid concrete pad.
Adding Railings for Safety and Style
Railings are a key safety and design element.
- Post Installation: Railing posts must be robustly attached to the deck frame, not just the decking. This often means bolting them to the outside of the rim joist.
- Railing Height and Spacing: In PA, residential deck railings must be at least 36 inches high. Balusters (the vertical pickets) must be spaced so a 4-inch sphere cannot pass through.
- Install Rails and Balusters: Install your top and bottom rails between the posts, then attach your balusters. You have many material choices, from wood and composite to aluminum and cable. For inspiration, check out our guide on Best Deck Railing Ideas – Coopersburg, PA.
Step 5: Finishing and Maintaining Your New Deck
You’ve worked hard to build outdoor deck, and now it’s time for the final touches that protect your investment and make the space your own.
Finishing Touches
These elements add comfort, function, and style to your deck.
- Deck Lighting: Lighting adds ambiance and safety. Options include riser lights for stairs, post-cap lights, wall-mounted sconces, string lights, or LED strips under railings.
- Lattice Skirting: Installing lattice or decorative panels below the deck surface conceals the substructure and deters pests.
- Built-ins: Benches and planter boxes add character and function. Ensure your frame is designed to support their weight and that planters have proper drainage.
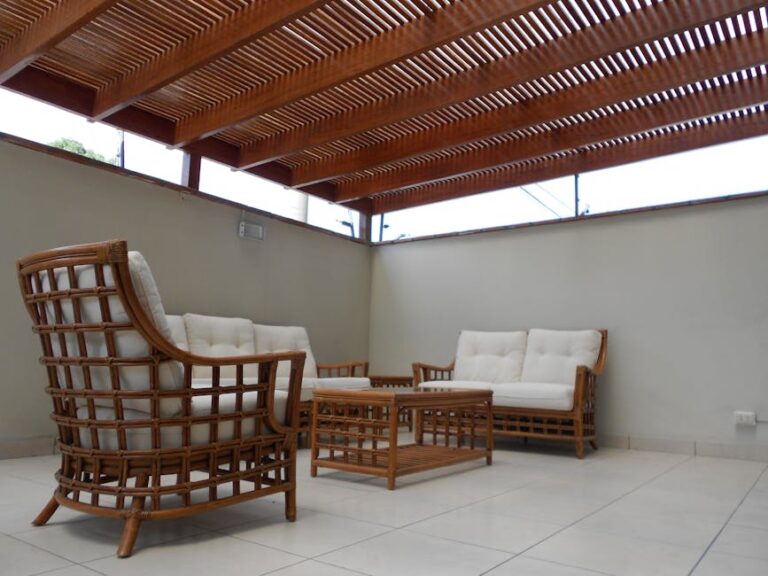
- Shade Structures: A pergola or retractable awning provides shade and a defined living area.
- Under Deck Dry Space: If your deck is liftd, consider an Under Deck Dry Space – Lehigh Valley system to create a dry, usable patio or storage area below.
Essential Deck Maintenance
Regular maintenance ensures your deck lasts for decades.
- When to Stain a New Wood Deck: Let new pressure-treated lumber dry completely before staining, which can take a few weeks to a few months. Test readiness by sprinkling water on the wood; if it soaks in, it’s ready. Staining too soon traps moisture.
- Cleaning Methods:
- Wood Decks: Sweep regularly. Annually, clean with a deck cleaner and a power washer on a low-pressure setting. Regular staining and sealing are essential to protect against UV damage and rot.
- Composite/PVC Decks: These require only occasional cleaning with mild soap, water, and a soft brush. Avoid high-pressure washing, which can cause damage.
- Annual Inspection: Once a year, inspect your deck for loose railings or fasteners, rotting wood (especially the ledger board and joists), cracked boards, and signs of pests. Addressing small issues promptly prevents them from becoming major Deck Repairs.
Frequently Asked Questions about Building a Deck
What is the average cost of a DIY deck?
A simple 10’x10′ ground-level DIY deck can cost around $350-$750 in materials, while professional builds average $10,000 to $20,000. Costs vary greatly based on size, materials, and design complexity.
Do I always need a permit to build a deck?
Not always, but it’s common. In Pennsylvania, permits are typically required for decks over 30 inches high, over 200 square feet, or any deck attached to the house. Always check with your local building department in the Lehigh Valley (e.g., Center Valley, Coopersburg, Allentown, Macungie, Emmaus, Easton) first. It’s better to be safe than sorry! For more details, see our guide: To Permit or Not to Permit: Do You Need a Permit for Your Next Project?
What’s the hardest part of building a deck yourself?
For most DIYers, the most challenging parts are ensuring the foundation is perfectly level and square, and properly attaching the ledger board to the house to prevent water damage and ensure structural stability. These steps require precision and adherence to building codes, making them critical for the deck’s longevity and safety.
Your New Favorite Outdoor Room
Building your own deck is a rewarding project that improves your home and lifestyle. By following these steps, you can create a durable, beautiful, and safe Outdoor Living Space in the Lehigh Valley. If the project feels too big, or you want a custom design with professional quality, the expert team at Cedar Creek Construction is here to help bring your vision to life.